
Neverwinter Rogue Build: Whisperknife DPS Setup Guide
Our Neverwinter rogue build covers Whisperknife single-target and AoE rotations, stats, gear, mounts and companions. Discover how to top the damage charts.
Jump to
How the Whisperknife Rogue Plays
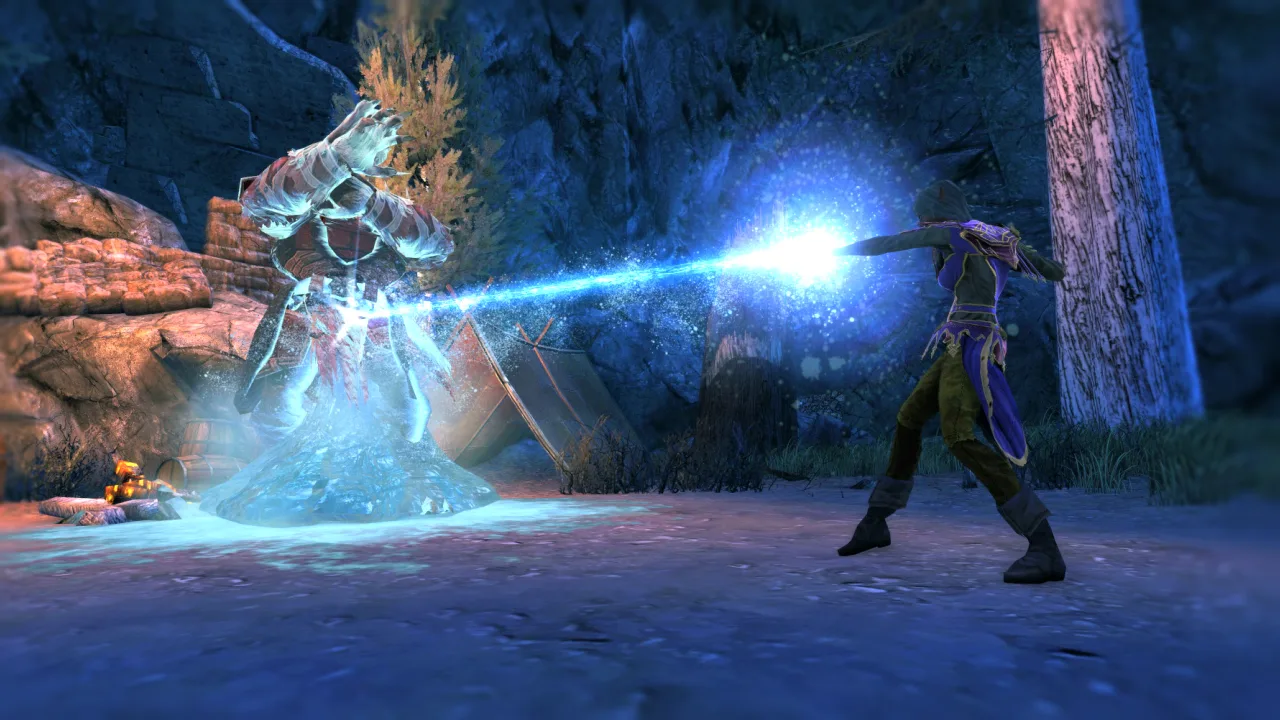
Rogue is a melee damage dealer that lives in stealth and punishes bosses inside short burst windows. This Neverwinter rogue build uses the Whisperknife paragon and splits into two loadouts. The single-target loadout handles bosses, and the multi-target loadout shreds trash packs. The main difference between them is the class feature. Single target runs Shadow of Demise, and multi-target swaps it for Shadowy Opportunity.
The core of the setup took shape across Modules 32.5 and 33.5. Sleeping Gods Lie went live on November 17, 2026. The rotations and stat priorities below still apply, but expect to swap some gear pieces as you collect new items.
Whatever content you run, the first rule is combat advantage. Flank the boss so an ally stands directly opposite you. When the arc under the target turns purple, you have it.
Official page: Neverwinter (playneverwinter.com)
Single-Target Loadout and the Artifact Call
Most of your boss damage happens during the artifact call. This is a window of roughly 10 seconds where the whole party fires support artifacts that make the target take more damage. Inside that window you hit for about three to four times your normal damage, so the entire single-target kit is built around it.
 Image: Steam / Cryptic Studios
| Slot | Choice | What it does |
|---|---|---|
| Encounter | Disheartening Strike | Keep it on the target at all times; lasts 10 seconds, raises damage taken and adds a damage over time |
| Encounter | Shadow Strike | Cast from stealth to trigger Shadow of Demise; doesn't consume stealth and refills 20% of the bar |
| Encounter | Lashing Blade | Consumes stealth for a hit of over 1,000 magnitude (300 extra magnitude while stealthed) |
| Encounter | Impact Shot (or Smoke Bomb) | Strong single-target hit; Smoke Bomb deals about the same because Enchanter's Hex procs on every tick |
| At-Will | Cloud of Steel | Ranged filler that stacks more damage the longer you use it |
| Daily | Hateful Knives | Main single-target daily; cast it from stealth for the bonus damage |
| Feat | Tenacious Concealment | Better stealth regeneration |
| Feat | Dagger Threat or Advantageous Position | Damage bonus, or guaranteed combat advantage plus reduced damage taken |
| Class features | One with the Shadows, Shadow of Demise | Shadow of Demise adds a delayed burst based on your encounter damage |
Advantageous Position matters most in content where you can't get combat advantage unless the party has a Scorpion. If that Scorpion falls off during a run, swap Advantageous Position in to give yourself combat advantage.
Single-Target Rotation
Your mounts need Tactician's Precision at minimum, and Cavalry's Haste helps if you can get it. Both bonuses reset encounter cooldowns so you can cast each power twice inside the 10-second window. Cavalry's Haste only makes the timing tighter, so treat it as optional.
- Before the call, land Disheartening Strike on the boss.
- Cast your artifact, then enter stealth.
- Shadow Strike → Lashing Blade → Impact Shot.
- Use your belt item and mount power.
- Enter stealth again, then cast your daily.
- Shadow Strike → Lashing Blade → Impact Shot.
- Reapply Disheartening Strike once the call ends.
The sequence triggers Shadow of Demise twice per call. Between calls, cast Cloud of Steel at range so your daily is back for the next window. Tap Disheartening Strike again every time its 10-second effect runs out.
Multi-Target (AoE) Loadout
Rogue's AoE damage ranks among the best in the game. Stealth grants combat advantage against every target, no matter where it stands. After you leave stealth you keep combat advantage for another two seconds.
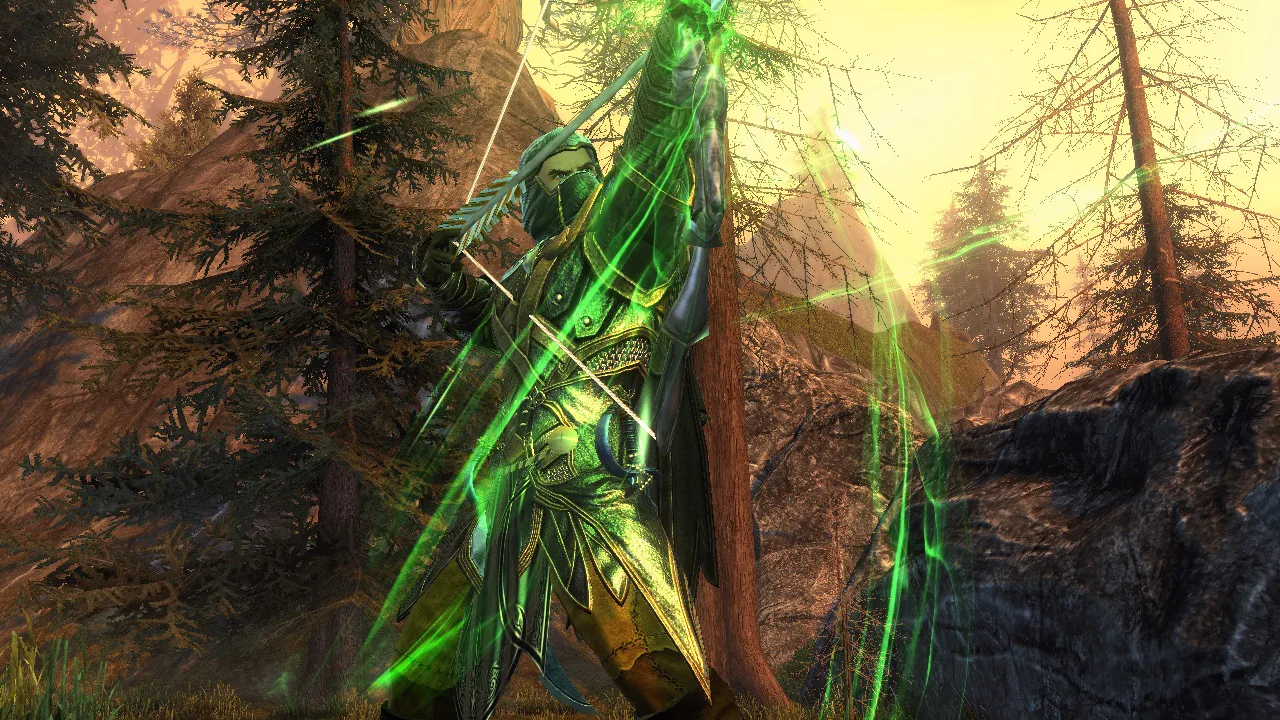 Image: Steam / Cryptic Studios
- Blade Flurry: usually cast once per stealth. It consumes stealth, gains a larger radius and triggers Shadowy Opportunity.
- Smoke Bomb: damage over time plus a daze that stops enemies from attacking you.
- Path of the Blade: additional damage over time. Blitz is an alternative pick.
- Daily: enter stealth before casting it. Pick a gap closer if you need to reach the pack, or Whirlwind of Blades.
- Feats: Advantageous Position and Tenacious Concealment stay. Return to the Shadows and Shadowy Opportunity are the two feats that change from the single-target setup.
AoE Rotation
- Enter stealth and cast Blade Flurry.
- Drop Smoke Bomb so the pack is dazed, then cast Path of the Blade.
- Enter stealth again and cast Blade Flurry.
- When stealth refills, repeat: stealth, Blade Flurry, Path of the Blade, Smoke Bomb.
On a boss, an artifact call in this loadout goes like this. Artifact, two Blade Flurries, Smoke Bomb, Path of the Blade, belt item, daily. Then stealth, Smoke Bomb, and Path of the Blade again. It won't match the single-target burst, but it hits everything around you.
Stat Priorities
Total ratings don't matter. Only the final percentages count. Rating can give you at most 50% Critical Strike and 60% Critical Severity, and the rest comes from buffs, gear procs and group support. Fully geared endgame players reach the cap on every damage stat in combat with a full party. Prioritize stats in this order:
 Image: Steam / Cryptic Studios
- Item level. It raises your base damage, as long as the content doesn't scale you down.
- Damage debuffs on the target. These have a huge impact, which is why artifacts like the Nightflame Scepter are standard.
- Enemy stat reductions. Rogue gear rarely has them, but setting your companion enhancement to Armor Break counts.
- Base damage boosts. These come from companions, powers and certain gear pieces.
- Power and Combat Advantage.
- Critical Strike, then Critical Severity.
- Accuracy. This is your dump stat in a fully buffed group.
Accuracy is still the stat this build struggles with most, so grab an Accuracy headpiece when you need one. Also remember that many gear bonuses only trigger in combat. Check your sheet after a few seconds of fighting, not while standing in town.
Gear, Enchantments and Artifacts
Gear Progression
You don't need an exact gear list. Mix and match pieces that add up to good damage stats. Fresh level 20 characters should run random queues and spend their seals at the merchant in the Seven Sons Coster Market in Protector's Enclave. Campaign quests and stores then hand out weapons and rings that carry you into advanced and master content.
Watch your boots. The celestial damage boots cost you 20% maximum hit points, and in some fights that gets you killed. Swap to Frost Giant Leggings or other damage boots when the boss hits hard. Slasher shirts and pants move between your characters, which makes them an easy pick for alts.
Reinforcement Kits and Enchantments
- Armor kits: Critical Severity in every armor slot.
- Jewels: Combat Advantage in every accessory slot.
- Enchantments that matter: offense, utility, overloads, combat and bonus.
- Defense slots: fill them with whatever spares you own so you can rebalance later; ideally run Garnets there for extra defense.
- Overloads: run damage overloads like Rage of Flames. Swap to a slayer-type overload when you fight a matching enemy type.
Swift Synergy adds about 1,000 item level, but it changes your stat balance and costs a lot, and its bonus only triggers in a group. An earlier bug made its buff fade if you stopped attacking for a few seconds in combat. That bug is fixed now.
Artifacts
Your primary artifact must be a team support artifact for artifact calls, such as the Nightflame Scepter. Your secondary slots are pure stat sticks.
Companions, Mounts and Insignias
Companions
In endgame groups, summon a support companion. For companion bonuses, run Potent Precision and the strongest damage boosts:
- Tamed Raptor (Reaper store). It gives a lot of Power when everyone in the group runs it.
- Batiri (Reaper store).
- Neverwinter Knight (Zen Market, auction house or Trade Bar store).
- Minsc (Zen Market or auction house).
- Dog or Kenku archer to fine-tune your stats.
Lycera with Spiteful Hex works well in content where you take lots of hits. It stacks between players right now, though that could get fixed. Companion gear drops in the Red Harvest zone and also comes from the celestial companion lockbox, so check the auction house too.
Mounts and Insignias
Upgrade 10 mounts to celestial to raise your mount bolster, which boosts both combat and equip powers. Which mounts you use matters less than which insignia bonuses they carry. Aim for these:
- Tactician's Precision
- Executioner's Covenant
- Enchanter's Hex
- Cavalry's Haste
- Artificer's Entitlement
Cavalry's Haste and Artificer's Entitlement only help a little, so don't chase them first. Insignia mix: 7 Scale, 11 Brutality and 2 Dominance. For collars, the encounter power damage and Critical Severity collars matter most.
For your combat power, the Demonic Gravehound lands the most physical damage in basically one hit. Grubshank has a higher total magnitude, but its damage comes over time, so it fits the burst window worse. Always prefer physical over magical damage. For your equip power, take Ferocity over Pack Tactics.
Consumables, Boons, Race and Ability Scores
- Elixir: Sunlord's Gift Elixir from the Vault of Piety, or a Wildstorm Elixir.
- Food: Squash Soup, or Prime Rib.
- Potion: Flask of Potency, crafted or from the auction house.
- Guild food: Ratatouille from the guild merchant.
- Belt items: Spider Totem (Northdark Reaches campaign; requires Master Temple of the Spider) and Alchemist Figurine.
- Healing: Stone of Health or potions. Regeneration potions pair well with Lingering Medicine.
For campaign boons, take every damage boon. Blessed boons are a nice bonus whenever your healer procs them on you. For guild boons, slot Critical Strike for offense and pick revive sickness and Defense for the rest, depending on what your guild has unlocked. If your Accuracy overcaps in a buffed group, move that boon point into Power instead.
Put 6 points into Strength and 6 into Dexterity. Wood Elf is the natural race pick because its 5% Critical Strike fits the stat spread perfectly. Other races with damage stats work too, but you'll need to rebalance your ratings around them.
FAQ
Do I need Cavalry's Haste for the single-target rotation?
No. Tactician's Precision is the must-have because it resets your encounters for the second half of the artifact call. Cavalry's Haste just makes the timing a bit more forgiving.
Should I use Smoke Bomb or Impact Shot on bosses?
Either one works. Their damage ends up about even once Enchanter's Hex procs on each Smoke Bomb tick. Smoke Bomb also dazes, which helps in messier fights.
Why does my damage drop even though my stats look capped?
Your final percentages need to hold up in combat, not on the character sheet. Make sure your combat advantage is up, and check that your in-combat gear procs are actually triggering.
Continue with
 Neverwinter Warlock Build: Hellbringer DPS Powers and GearOur Neverwinter warlock build covers Hellbringer single-target and AoE power setups, feats, class features, gear, companions, and mounts for M33.5 DPS.
More in Builds

Neverwinter Barbarian Build: Blademaster Rotation & Gear
Our Neverwinter barbarian build covers Blademaster powers, feats, the artifact call rotation, gear progression, mounts and companions to max your damage.

Neverwinter Fighter Tank Build: Vanguard Gear and Powers
Build a durable Vanguard with this Neverwinter fighter tank build: powers, feats, Dig In blocking, enchantments, mounts and debuff swaps for endgame runs.
Neverwinter Ranger Build: Hunter DPS Powers, Feats & Gear
Our Neverwinter ranger build covers Hunter DPS powers, feats, stat priority, rotation and gearing, plus a Warden option. Set up your ranger and hit harder.

Neverwinter Wizard Build: Thaumaturge DPS Setup Guide
Our Neverwinter wizard build covers the Thaumaturge rotation, powers, mounts, companions and gear progression so you hit max damage in every boss fight.
Join the community
Official channels for news, updates and player help: