
Neverwinter Warlock Build: Hellbringer DPS Powers and Gear
Our Neverwinter warlock build covers Hellbringer single-target and AoE power setups, feats, class features, gear, companions, and mounts for M33.5 DPS.
Jump to
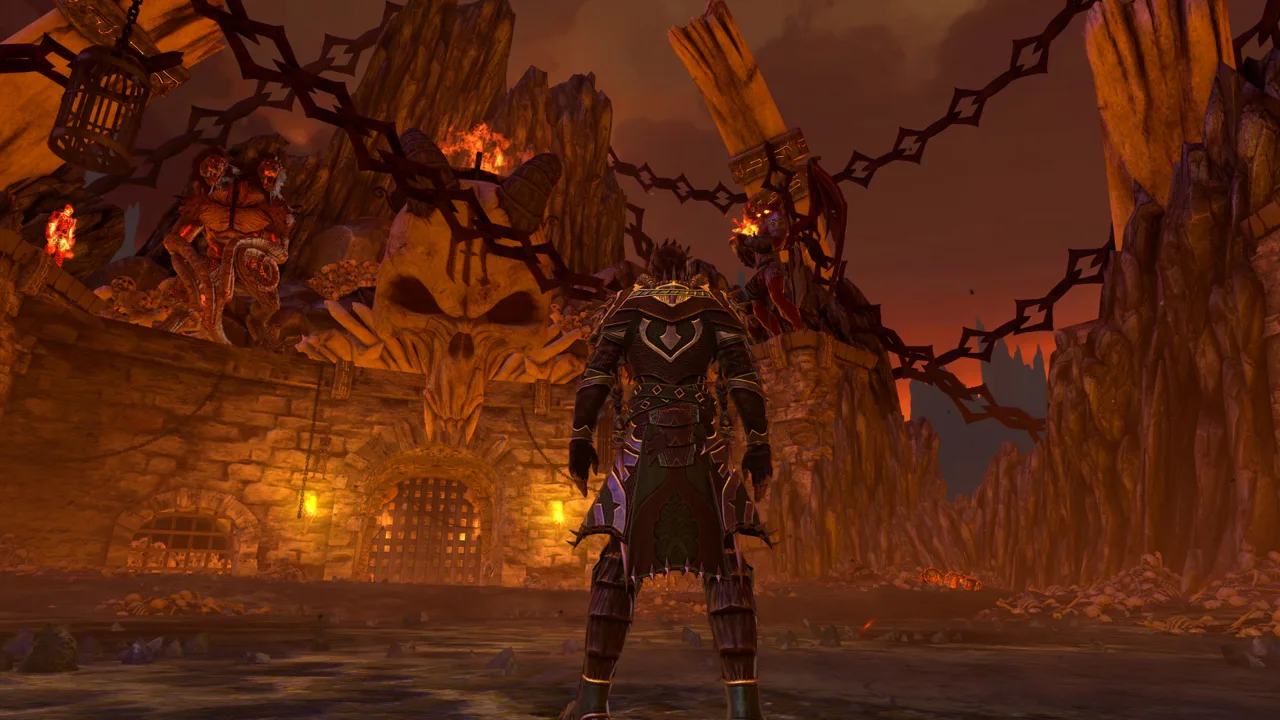
The Hellbringer is one of the most comfortable damage dealers in the game right now. You attack from range, and your Curse hands you Combat Advantage no matter where you stand, so you never need to fight for a flanking spot. This Neverwinter warlock build covers the Module 33.5 Hellbringer setup from first campaign gear to endgame. It includes separate single-target and multi-target loadouts, feat choices, gear sources, companions, mounts, and the animation-cancel tricks that separate good warlocks from great ones.
If you haven't installed the game yet, it's free to play on Neverwinter's Steam page.
How the Hellbringer Works
Hellbringer damage comes from a handful of class mechanics that feed each other. Learn these before you touch your power bar.
| Mechanic | What it does |
|---|---|
| Soul Spark | Your powers build Soul Sparks, which fuel Soul Scorch. |
| Soul Scorch | Fill the bar by hitting enemies with your at-wills, then fire it. It acts as a fixed fourth encounter power that you can't swap out, and it spreads to nearby enemies. |
| Curse | Cursed targets grant you Combat Advantage regardless of positioning. |
| Soul Puppet | Several powers summon a pet that inherits your stats with +50% max HP and lasts 20 seconds. Each re-summon while one is active adds a Soul Investiture stack (+10% puppet attack magnitude, up to 5 stacks). |
| Shadow Slip | Your dodge. Instead of rolling, you fly around, and the game counts you as dodging while you slip. |
The Curse mechanic is the reason warlocks are so popular in the newest dungeons. You get ranged damage and you don't have to worry about Combat Advantage positioning.
You don't need a full Soul Spark bar to cast Soul Scorch. It just hits weaker with fewer sparks. Soul Scorch spreads to nearby enemies too, so it pulls its weight in packs.
Single-Target Setup for Bosses
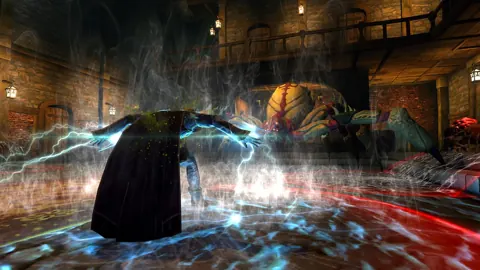
This is your boss loadout. Dark Helix does the heavy lifting, and the rest of the bar keeps Curse, Soul Puppets, and Soul Investiture stacks rolling.
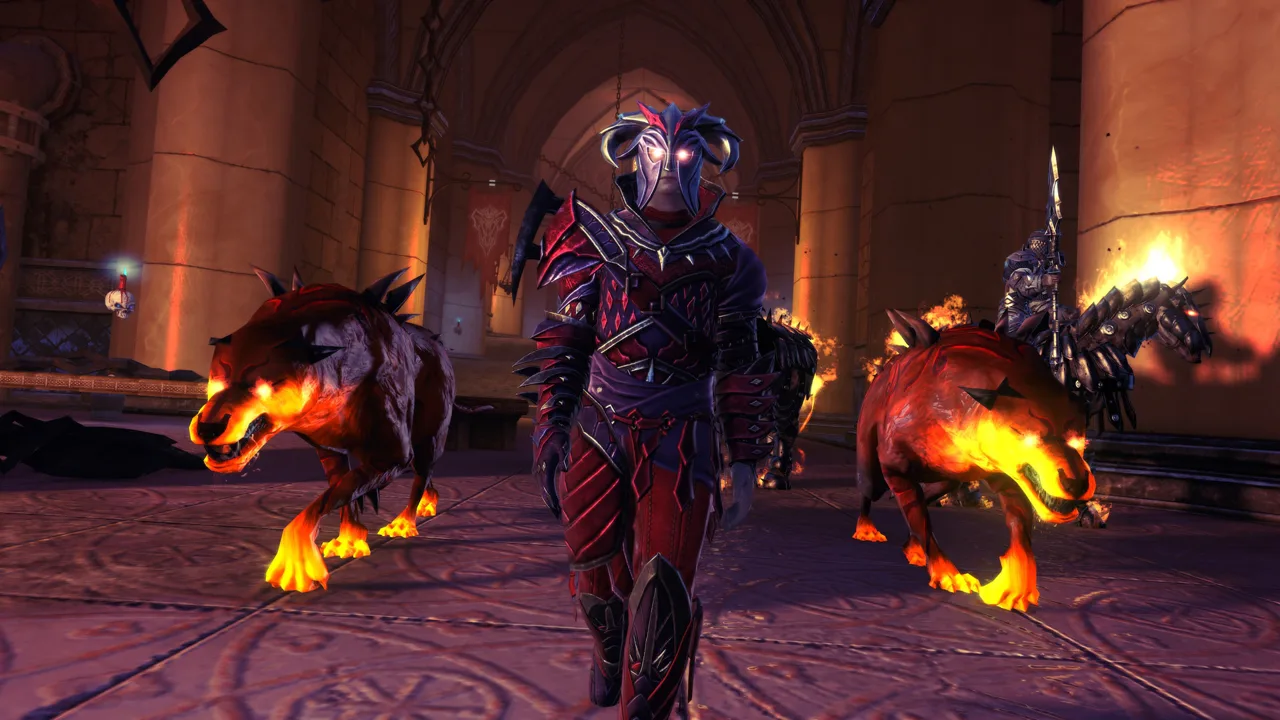 Image: Steam / Cryptic Studios
| Slot | Power | Why it's here |
|---|---|---|
| At-will | Dark Helix | 135 magnitude orb. It consumes Dark Spirals for +50 magnitude each (you gain a spiral per kill, max 2 stacks). Animation-cancel it for big sustained damage. |
| Encounter | Vampiric Embrace | Solid damage plus a small heal. |
| Encounter | Hadar's Grasp | Its Curse Consume summons a Soul Puppet, which stacks Risky Investment. |
| Encounter | Killing Flames | Strong single-target hit that grows stronger as the target's health drops. |
| Daily | Tyrannical Curse | Decent damage, then a big damage boost. |
| Class feature | All-Consuming Curse | Always slotted. |
| Class feature | Dark Prayers or Flames of Empowerment | Dark Prayers gives more Soul Spark gain, so you get more Soul Scorch casts and more cooldown reduction. Flames of Empowerment is the team-support pick. |
Feats: Single Target vs. Multi-Target
| Feat choice | Single target | Multi-target |
|---|---|---|
| Soul Scorch damage | Double Scorch | Double Scorch |
| Curse feat | Warlock's Curse (+15% damage to cursed targets) | Parting Blasphemy |
| Soul Puppet feat | Risky Investment | Risky Investment |
| Damage feat | Creeping Death | Executioner's Gift (more damage as target health drops) |
| Soul Scorch feat | The Soul Scorch cooldown-reduction feat | The Soul Scorch cooldown-reduction feat |
The cooldown reduction from Soul Scorch is the backbone of both setups. Treat Soul Scorch as a cooldown-reduction button first and a damage button second.
The Artifact Call Rotation
During the artifact call, everyone fires artifacts together, and the target's damage taken spikes. You need to fit your whole burst combo inside a 10-second window.
- Practice the full order on a dummy until it fits in 10 seconds.
- If you're still learning or you have server delay, drop the Hellish Rebuke casts from the sequence. A clean, slightly shorter combo beats a rushed one that spills outside the window.
Multi-Target Setup for Trash Packs
Packs die fast in current content, so this loadout is built on a curse-and-consume loop:
 Image: Steam / Cryptic Studios
- Apply Curse with Fiery Bolt or Hellfire Ring.
- Consume those curses with Curse Bite.
- Use Soul Scorch for the cooldown reduction so you can cycle the loop faster.
Swap Creeping Death for Executioner's Gift, and swap Warlock's Curse for Parting Blasphemy. For the second class feature slot, run Shadow Walk for extra movement speed or Deadly Curse for a bit of extra damage.
Movement speed is king in multi-target content. Whoever reaches the mobs first gets the damage, so lean toward Shadow Walk unless you already have speed from elsewhere.
Set this up as a separate loadout or a second power set so you can switch between bosses and trash quickly.
Leveling and Casual Tips
While you're leveling, the warlock is simple and forgiving:
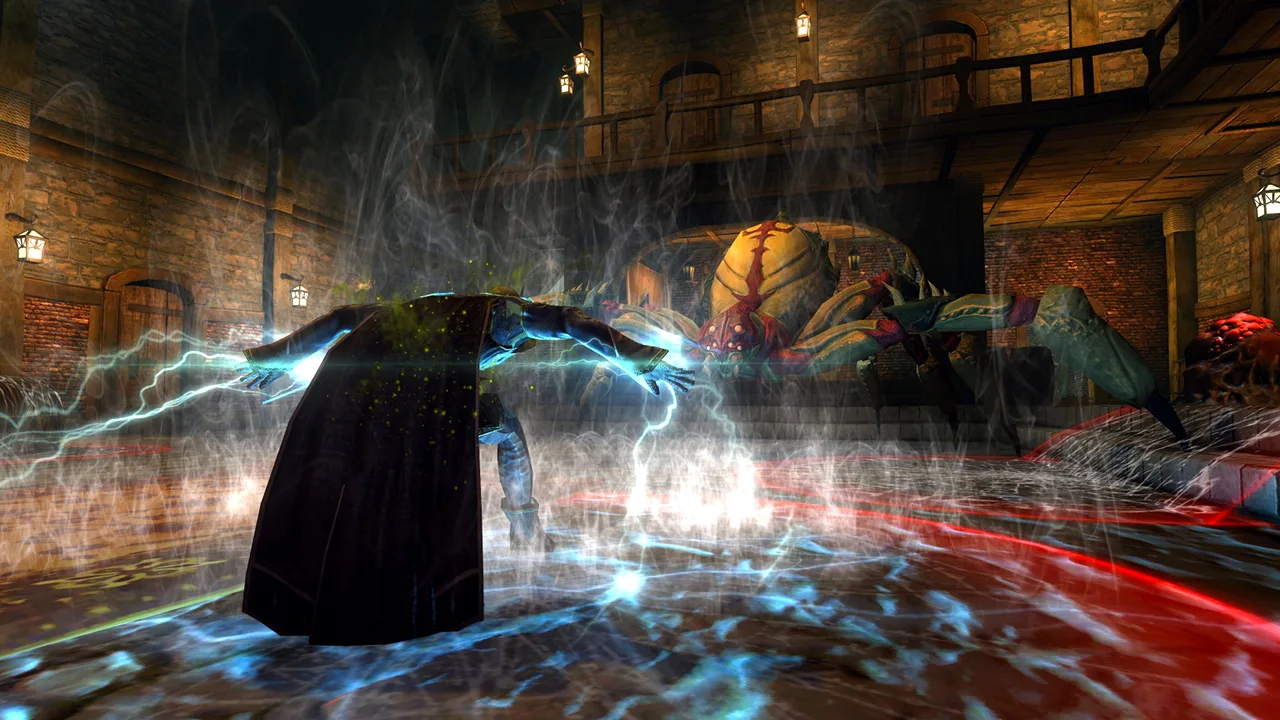 Image: Steam / Cryptic Studios
- Fiery Bolt does heavy AoE damage and curses the enemies it hits.
- Arms of Hadar knocks down everything in a path in front of you. It's great for chaining AoE.
- Dark One's Blessing (health regen) plus Dust to Dust (+5% damage dealt) make a sturdy class feature pair while you learn the class.
For ability scores, prioritize Intelligence and Dexterity. Human is the recommended race, with the bonus points going into Intelligence.
Gear Progression: Starter, Midgame, and Endgame
All three stages share the same enchantments, companions, and mounts. Only the gear changes.
| Stage | Slot | Source |
|---|---|---|
| Starter | Armor (Enchanted Bregan) | Legendary from the Menzoberranzan campaign store. Upgrade to Mythic with Demonweb Pits / Narbondellyn currency. |
| Starter | Arms (Frostbound War Wraps), rings | Biting Cold campaign |
| Starter | Weapons | Soul Collector campaign (green to legendary in-zone). As a shortcut, use the purple Biting Cold weapons, then the legendary drops from Advanced Jotunskar. |
| Starter | Shirt and pants | Monoliths of Madness currency |
| Midgame | Celestial head | Biting Cold campaign completion choice pack |
| Midgame | Armor | Ancient dragon store in the Dragon's Lair campaign |
| Midgame | Arms, boots, ring, shirt, pants | Advanced Jotunskar. The legendary Threads of the Arcane Thrall come from Advanced Shackles of Divinity. |
| Endgame | Head and feet | Biting Cold choice pack or Master Shackles of Divinity |
| Endgame | Armor | Master Lair of the Mad Dragon |
| Endgame | Weapons | Soul Collector weapons, pushed to Mythic in Celestial Master Soul Harvest |
| Endgame | Arms, rings, shirt, pants | Master Jotunskar (arms also sell on the auction house) |
The starter setup tops 100,000 item level without a single enchantment or insignia, and every piece comes from campaigns.
Watch out with the Biting Cold choice pack: once you pull an item out of the bank, it binds to that character.
For scaled content, grab the Astral Rider Sleeves from Wildspace as early as you can. They give a 20% multiplicative boost when you're scaled down. Swap back to your regular arms for questing and Master content.
Endgame Variants
There are three endgame variants:
- Older set + Swift Synergy: the traditional setup.
- Laughing Void + Swift Synergy: the Laughing Void set from the Of Minds and Madness battle pass. It doesn't rely on Portobello to cap stats, but it uses a companion enhancement to cap accuracy, which means you give up a support enhancement. Switch to a support one if your group asks.
- Laughing Void + Lightning Flash.
The Laughing Void artifact grants 2,340 Critical Strike and Severity, 1,560 Combat Advantage, and 2,600 Combined Rating on a 60-second recharge. On use, its Corrupting Form gives 8.9% Critical Strike and Outgoing Damage for 10 seconds. With the Voidbound Necklace and Belt, it adds 2% Combat Advantage and Accuracy plus 10% Movement Speed.
On the Laughing Void + Swift Synergy variant, swap Dexterity for Charisma so you don't overcap Critical Severity.
The Sleeping Gods Lie patch also fixed Swift Synergy's buff fading mid-combat whenever you stopped attacking for a few seconds.
Enchantments, Companions, Mounts, and Consumables
| Category | Pick | Notes |
|---|---|---|
| Strike combat enchant | Lightning Flash or Swift Synergy | Swift Synergy is great for extra Combat Advantage. |
| Guard combat enchant | Shattered Resolve | Adds extra hit points and damage reduction for personal survivability. Radiant Sanctuary (paired with Providence) is the team option. |
| Companion bonuses | Minsc, Tamed Velociraptor, Batiri, Neverwinter Knight, Golden Cat | Raptor and Batiri come from the Reaper's Challenge store. Minsc, the Knight, and the Golden Cat come from Zen sales or the auction house. The Alchemist is a cheap stand-in for the Cat. |
| Summoned companion | Any team-support pick | You don't need a Combat Advantage companion. |
| Mount combat power | Greyhound (Infernal Pounce) | Best in slot. |
| Mount equip power | Providence | Extra radiant weapon damage. Ferocity also works. |
| Insignia bonuses | 2× Tactician's Precision, 1× Cavalry's Haste | Fill the rest with Artificer's Enticement, or utility like Gladiator's Gallop or Guardian Spirit. |
| Insignias | 9 Dominance, 11 Brutality | Colors: encounter power damage and crit severity. Celestial insignias are a late priority. |
| Consumables | Flask of Potency, Squash Soup, Wildstorm Elixir, Chocolate guild food | Prime rib or Sand Cloak work as alternate guild food. |
| Belt items | Stone of Health, Spider Totem | The totem adds Combat Advantage. |
For guild boons, take Power and the revive sickness boon. You'll want that one in hard content where you have to scroll up after a death.
Animation Canceling and Keybinds
Shadow Slip lets you dodge without moving, and that's what makes animation canceling possible:
- Hold two opposite movement keys so you stay in place.
- Hold down Dark Helix.
- Spam your Shadow Slip key to cut the animation short.
This works well on Dark Helix and Vampiric Embrace. It doesn't really work on Hadar's Grasp. Soul Scorch can be canceled too, but it needs perfect timing.
A warlock who cancels cleanly will do noticeably more damage than one who doesn't. Even without canceling, the class is strong for casual players because of its ranged sustain and positioning-free Combat Advantage.
FAQ
Is the warlock hard to play?
Not to get started. You can play it relaxed and still deal very good damage. The skill ceiling is higher, though, because of the 10-second artifact call rotation and animation canceling.
Can the warlock heal instead of deal damage?
Yes. The Soulweaver paragon path is the healer spec, built around heals that spend Soulweave. This build covers the Hellbringer DPS path only.
Do I need a separate loadout for trash and bosses?
For optimized play, yes. The multi-target setup swaps two feats and several powers, so keep it as its own loadout or power set.
Continue with
 Neverwinter Wizard Build: Thaumaturge DPS Setup GuideOur Neverwinter wizard build covers the Thaumaturge rotation, powers, mounts, companions and gear progression so you hit max damage in every boss fight.
More in Builds

Neverwinter Barbarian Build: Blademaster Rotation & Gear
Our Neverwinter barbarian build covers Blademaster powers, feats, the artifact call rotation, gear progression, mounts and companions to max your damage.

Neverwinter Fighter Tank Build: Vanguard Gear and Powers
Build a durable Vanguard with this Neverwinter fighter tank build: powers, feats, Dig In blocking, enchantments, mounts and debuff swaps for endgame runs.
Neverwinter Ranger Build: Hunter DPS Powers, Feats & Gear
Our Neverwinter ranger build covers Hunter DPS powers, feats, stat priority, rotation and gearing, plus a Warden option. Set up your ranger and hit harder.

Neverwinter Rogue Build: Whisperknife DPS Setup Guide
Our Neverwinter rogue build covers Whisperknife single-target and AoE rotations, stats, gear, mounts and companions. Discover how to top the damage charts.
Continue exploring

Neverwinter Races: Racial Traits and Best Picks by Role
Compare all 15 Neverwinter races, their racial traits and stat bonuses, see which suit DPS, tanks and healers, and learn how to unlock paid races for free.
Neverwinter Tier List: Best DPS, Tank and Healer Ranked
Our Neverwinter tier list ranks every DPS, tank and healer paragon by burst damage and ease of play. Find the strongest class before your next trial run.
Join the community
Official channels for news, updates and player help: