
Neverwinter Devourer's Pit Guide: Mechanics, Gear and Tips
Master the Neverwinter Devourer's Pit trial: handle Grathmok's vents, soak checks and tank busters, plus item level targets and the Artifact Armor rewards.
Jump to
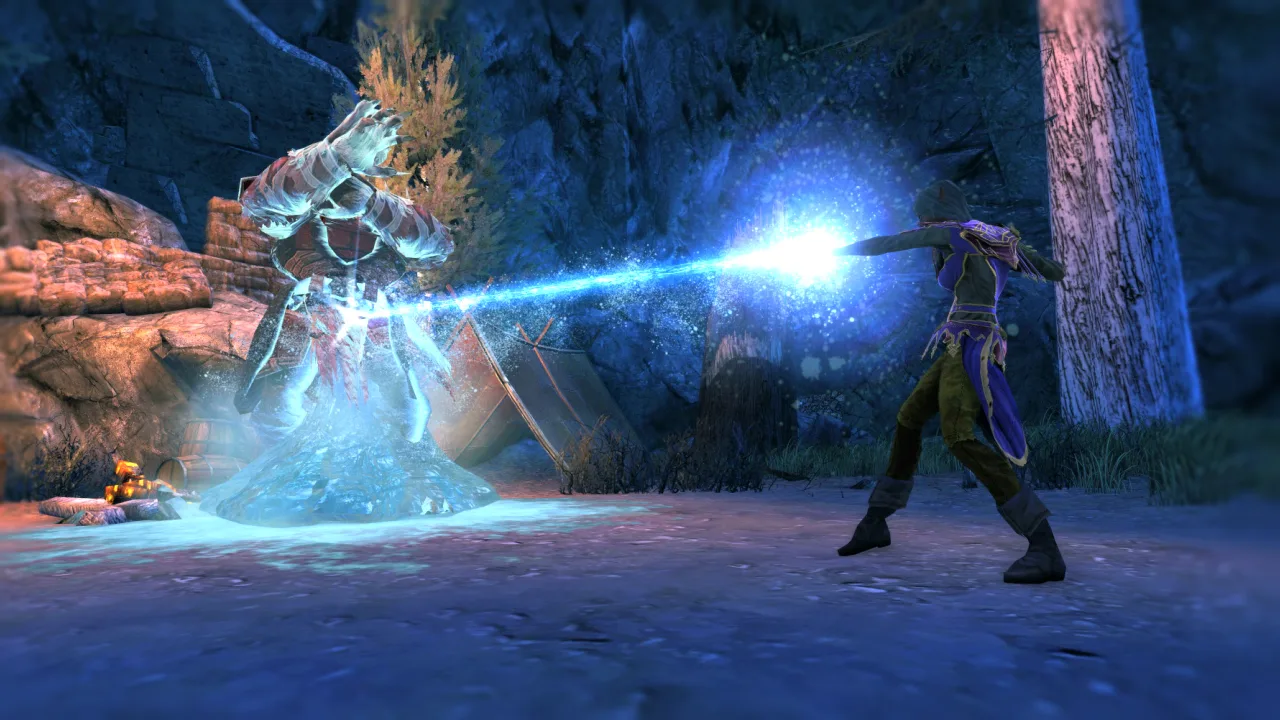
What the Devourer's Pit Is and Why It Matters
Grathmok the Devourer is a troll champion who wrestles, slams and stomps his way through a lava-ringed arena. The Neverwinter Devourer's Pit is the 10-player trial added with Module 34, Sleeping Gods Lie. It is a single boss fight built around positioning, timing and damage soaking, with mobs spawning during the transition phases and from some of his attacks.
The trial has these difficulty grades:
- Normal
- Advanced
- Master
- Ascendant, a brand-new, weekly-changing mode.
Grathmok's attacks are random, so you can't learn a fixed rotation. Learn the tells and react to them. The fight runs three full health bars, and a transition phase follows each one.
Recent update dates:
- November 17, 2026: Sleeping Gods Lie went live with the trial, the Reghed Crevasse zone and The Defense of the Mythallar skirmish. The module also improved Normal Queue reward tables and the Seal of the Dragon store, and added a new Seal of the Ancient Dragon store.
Neverwinter is free to play on Neverwinter's Steam store page.
Item Level Targets Before You Queue
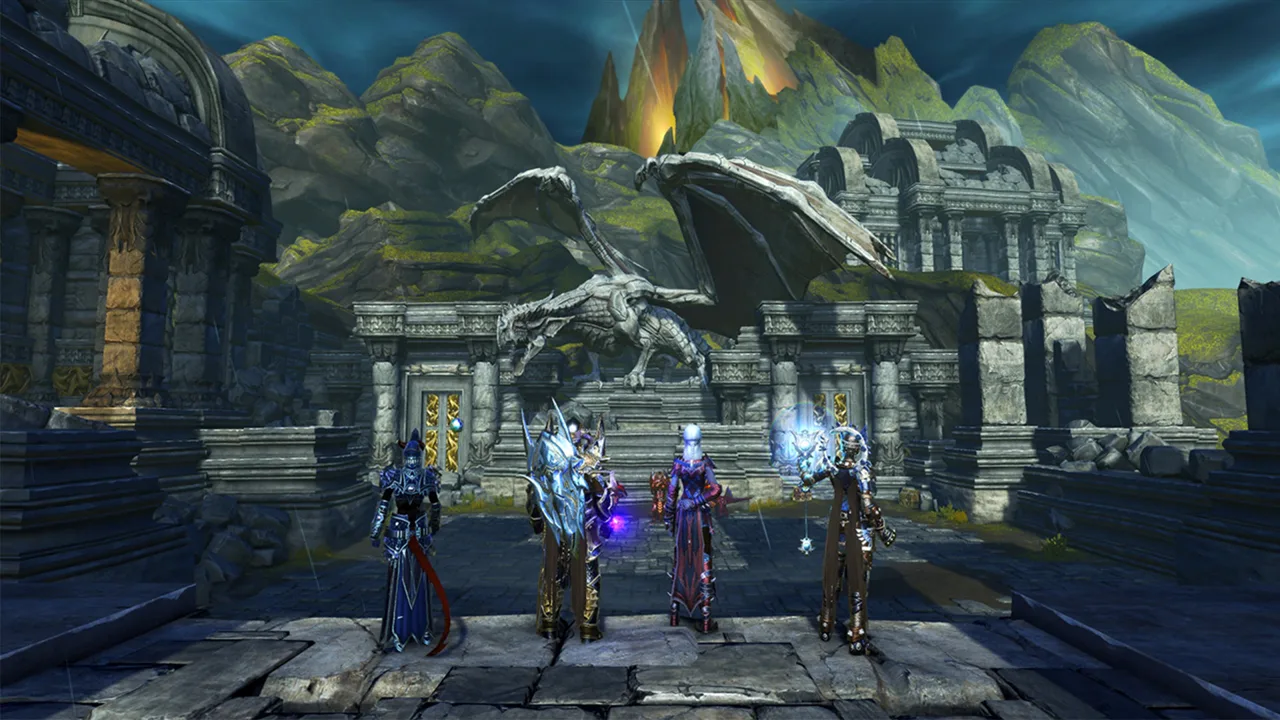 Image: Steam / Cryptic Studios
| Content | Item level to aim for |
|---|---|
| Advanced Devourer's Pit (private queue) | 105,000 |
| Master Jotunskar (private queue) | 115,000 |
| Master Devourer's Pit (realistic group target) | 120,000–130,000 |
Item level alone won't carry you. Check your stat tooltips and stop overcapping. Accuracy, for example, caps at 90%, and a red rating means wasted stats.
Advanced groups almost never form on the public queue. Find a group through your guild or the LFG channels and run it privately. Once your Advanced armor is Legendary and you've picked up Celestial rings from Master Jotunskar, you're ready to start Master Devourer's Pit.
Group Setup and Mitigation
The collapsing boulder soak check is the mechanic that wipes groups. Five players share the hit, and two soaks can land within a single minute. Bring two full sets of mitigation and aim for roughly 80% damage reduction on each soak.
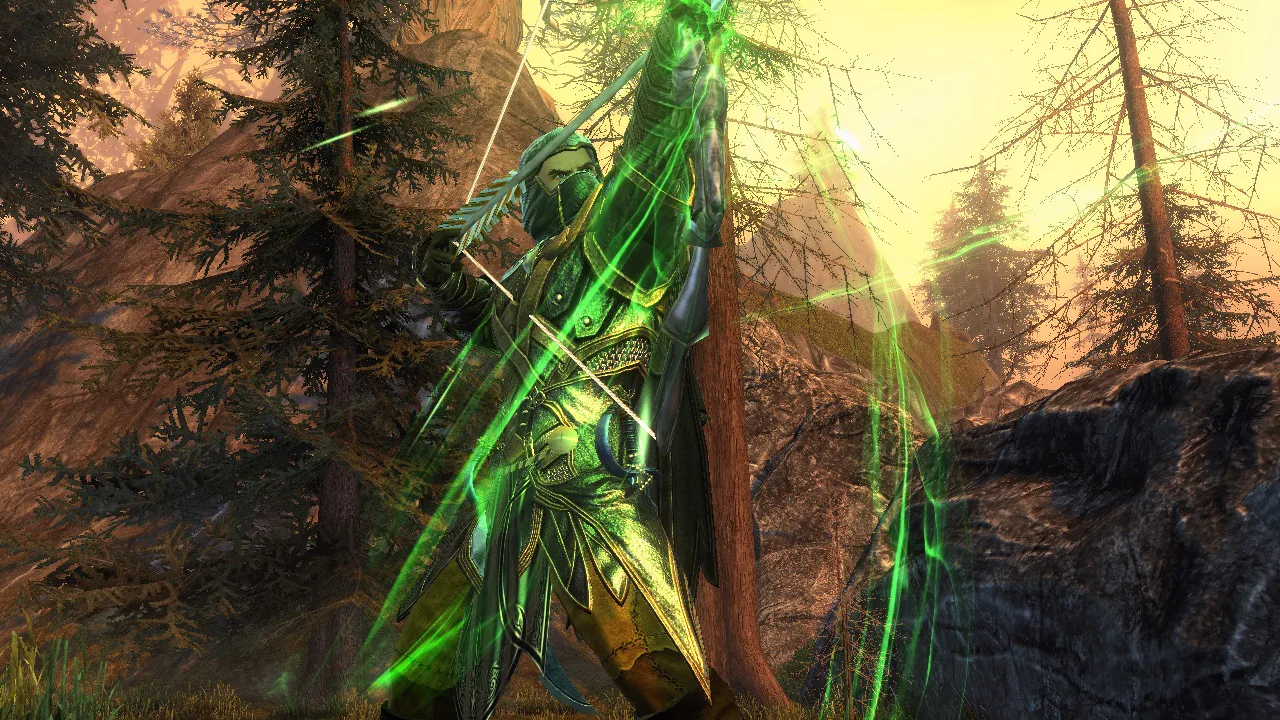 Image: Steam / Cryptic Studios
- Set one: tank mounts, healer artifacts and healer dailies.
- Set two: tank artifacts, healer mounts and healer dailies.
- Two mitigation mounts give over 20%, and two artifacts give upwards of 30% total.
Hit point floors:
- Tanks should build over 3 million personal hit points.
- DPS should never drop under 2 million, even when using gear that lowers hit points.
- A healer who isn't running a Guard enchantment with incoming damage reduction should stack extra hit points.
Other key picks:
- Run healers on three Shepherd's Devotion boons. Its defense and movement speed buff stacks between players.
- Put three Allies' Resilience on one tank. It doesn't stack and doesn't buff the user, so give it to the tank.
- Put one healer on the blue Troll Ward and the other on the green. DPS can run Troll Slayer.
- Mitigation companions such as Riotous Wrath, Brundr and Cyclops War Drummer help.
- Every healer needs enough action point gain to have a protective daily ready for every soak.
- Bring one shield healer (Paladin or Warlock) and one heavy healer. A Cleric's Hallowed Ground adds mitigation. A Bard adds tank mitigation, action points and extra shields.
- Skip Eladrin's Senses. Its troll debuff doesn't work on bosses, Grathmok included.
Some groups take a shortcut for a double soak inside one minute: a single healer soaks one hit alone and accepts a death, and the rest of the group shares the other. Build for two full sets while your group is still learning the fight.
The Arena and the Vents
The pit holds seven vents with safe zones between them. Anywhere that isn't a clean vent gives you Scorching Metal, a damage-over-time effect that stacks up to six times. Standing on a clean vent cleanses it.
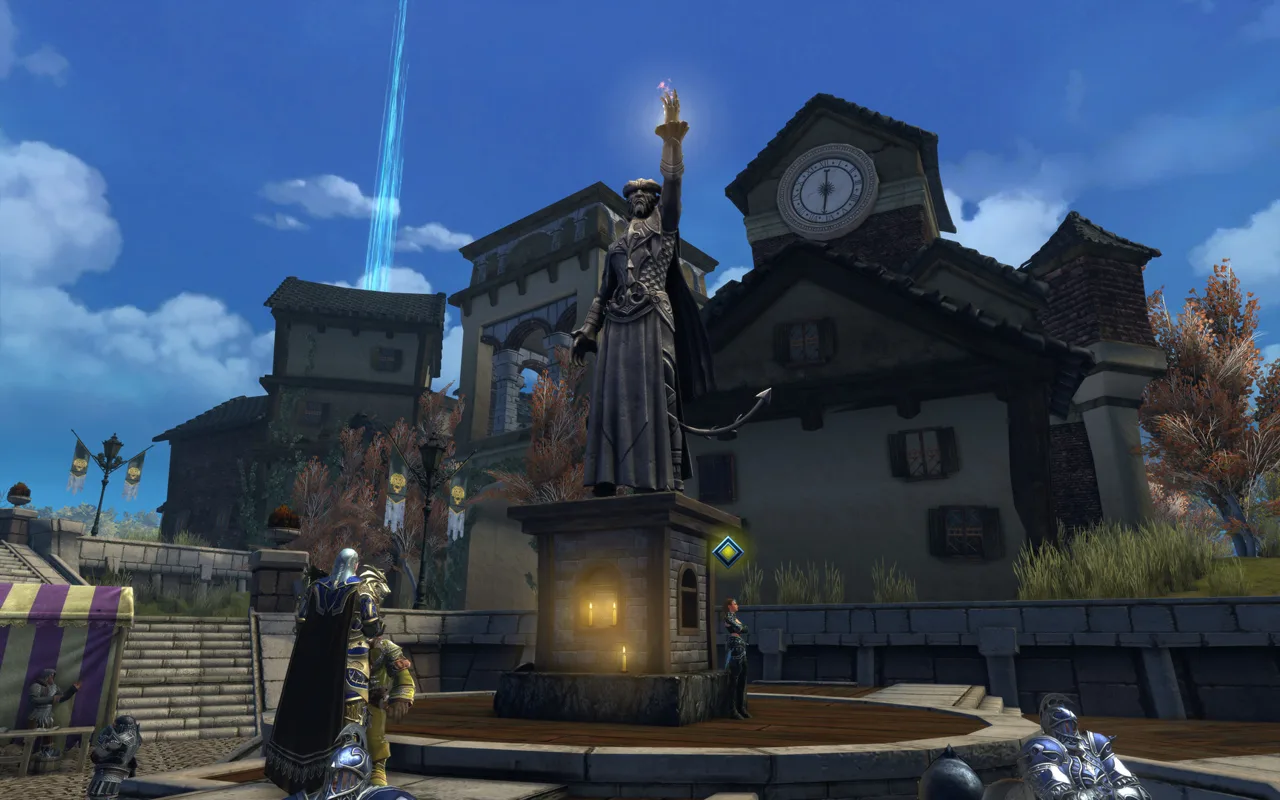 Image: Steam / Cryptic Studios
| Vent state | What it means |
|---|---|
| Clean, no flames | Safe to stand on and cleanse |
| Triggered | Bursts into flame within 10 seconds |
| On fire | Can't cleanse; takes 60 seconds to become clean again |
Strategy:
- The main tank parks Grathmok in the middle of the arena. Once he is properly centered, his vent won't open.
- Everyone else stands next to a clean vent and rotates as a group so a clean one is always close.
- Don't cleanse constantly. Hop onto the clean vent right before a soak so you aren't carrying Scorching Metal through the hit.
- Melee DPS can play this fine. The center strategy keeps movement low.
Grathmok's Attacks and How to Counter Them
| Attack | Tell | Counter |
|---|---|---|
| Collapsing Boulder (soak) | Arrows appear | Cleanse, group up, stack mitigation and shields, share the hit |
| Flying Slam | Huge red zone tracks the tank, then he leaps | Tank walks out early, since the zone locks the moment it stops tracking; everyone else dodges as he lands |
| Falling rocks | Small red circles | Dodge; never soak on top of them |
| Crushing Elbow | Rectangular AoE with heavy pushback | Dodge |
| Pull bursts | Large circle bursting outward from him | Dodge, or block as a tank or Paladin healer |
| Uppercut | Rings | Move out |
| Clap | Cone safe spot plus an outer area | Stand in the safe cone |
| Shockwave Jab | Cone aimed at the tank | Keep it pointed away from the group |
| Stomp | Red area | Dodging won't save you; walk out |
| Clap-Clap | Hands raised, three claps, faint air effects on vents | Get off the vents; three of them open |
| Troll Bile | Red area on the tank, then a mob spawns | Kill the mob fast, since it adds more red to the floor |
| Exploding Vents | Hands raised high, three vents light red | Clear those vents before they blow |
Maddening Flame
While Grathmok is enraged, every avoidable red zone that hits you adds a stack of Maddening Flame. He is enraged when he glows purple with a pink buff.
- Each stack lowers your recharge speed, incoming healing and stamina regeneration.
- At 10 stacks you die.
- Dodging while still inside the zone counts as a hit, so walk out instead.
- Your screen edges glow pink, and the glow intensifies as stacks build.
- Tanks used to blocking everything need to unlearn that habit here.
Tanking Grathmok
The main tank keeps Grathmok centered while he shoves them around, which is by design.
Tank busters
- The double tank buster (a skull zone on both tanks) can simply be mitigated.
- Save your daily for the enraged tank buster, which hits much harder.
- Being hit by the enraged buster applies a debuff that makes the next imbued shockwave slam lethal, so swap tanks immediately.
- Tank busters can arrive back to back, sometimes several within a minute, and your daily may still be on cooldown.
Cooldown options
- As a Paladin, Absolution gives 20% mitigation.
- Wheel of Elements doubles your hit points with the Earth buff, but it has a 60-second cooldown.
- Four Chambers of Gond has a 45-second cooldown and gives 20% extra damage reduction.
Transition Phase and Final Phase
When Grathmok reaches 10% health, his bar locks. He stays enraged and keeps using every normal mechanic, soaks and tank busters included. Run the transition this way:
- Kill the mobs that spawn. They hit hard, so the off-tank should hold them.
- Both healers receive a potion on their F key (PC).
- Tanks position Grathmok fully on a vent.
- Both healers throw their potions within about four seconds of each other to stun him. If a healer dies, the potion is lost and the mobs respawn for another try.
- DPS check: take him from 20% to zero within 30 seconds. Save your artifact call for this.
- Destroy the mechanical locks, a second DPS check, so his body drops into the lava. Step off his vent before the last lock breaks. Missing the locks in time wipes the group.
- Both tanks gain Shield of Strength on F. Split into two groups of five and have each tank channel the shield over four allies when the red area fills the arena. Stay off the vents, because they explode.
- Grathmok returns and aggro resets, so tanks must rebuild threat.
Clear this cycle three times, along with three health bars, to finish the fight. The final phase adds an extra damage-over-time effect, and Grathmok stays enraged the whole time even without the purple glow. Clean vents matter most here.
Rewards and the Artifact Armor Upgrade Path
Artifact Armor from Sleeping Gods Lie upgrades through this trial.
- Get the starting pieces. Buy the Epic armor from the Campaign Merchant with Unquiet Whispers; no Astral Diamonds are needed.
- Upgrade through refining. Use the Advanced Devourer's Mark to reach Legendary, then the Masterful Devourer's Mark for Mythic and Celestial. You'll also need some campaign currency along the way.
The Molten Helmet of the Devourer (Celestial) will have its Defense equip stat changed to Awareness in an upcoming patch.
| Difficulty | Notable loot |
|---|---|
| Advanced | Legendary weapons and rings, Advanced Devourer's Mark |
| Master | Mythic weapons and rings, vanity shirts and pants, vanity pet, vanity backpack, Masterful Devourer's Mark |
| Ascendant | Bahamut's Exaltation, a separate vanity backpack, and a decaying weekly currency for Mythic and Celestial chase gear in Bahamut's Store |
Compare stats before equipping the trial weapons and rings. The Master versions are usually a downgrade in stats compared to Celestial Jotunskar rings.
FAQ
Can I queue Advanced Devourer's Pit publicly?
You can, but almost nobody does. Form a group through your guild or the LFG channels and use the private queue at 105,000 item level.
What causes most wipes?
The shared soak. Two can land within a minute, so bring two sets of mitigation and make sure everyone cleanses on a clean vent before the hit.
Why did my healer's potion throw fail?
Both healers must throw within about four seconds of each other while Grathmok is fully on a vent. If either healer dies, the potions are lost and the mobs spawn again.
Continue with
 Neverwinter Dragon Hunts Guide: Unlocks, Modifiers & GearNeverwinter dragon hunts still drop strong gear. Learn how to unlock ancient dragons, use tier 3 modifiers, beat the weekly ridge cap, and pick your gear.
More in Dungeons
Neverwinter Dungeons Guide: Queues, Difficulties and Loot
Neverwinter dungeons explained: random queues, item level gates, Jotunskar loot and mechanics, and the route to Advanced and Master runs in Module 34.

Neverwinter Jotunskar Guide: Every Boss, Mechanic and Loot
Clear Neverwinter Jotunskar on any difficulty with frostbite cleanse timing, boss-by-boss tactics, tank tips and a full rundown of the loot worth farming.
Continue exploring
Join the community
Official channels for news, updates and player help: