
Neverwinter Jotunskar Guide: Every Boss, Mechanic and Loot
Clear Neverwinter Jotunskar on any difficulty with frostbite cleanse timing, boss-by-boss tactics, tank tips and a full rundown of the loot worth farming.
Jump to
What You're Walking Into
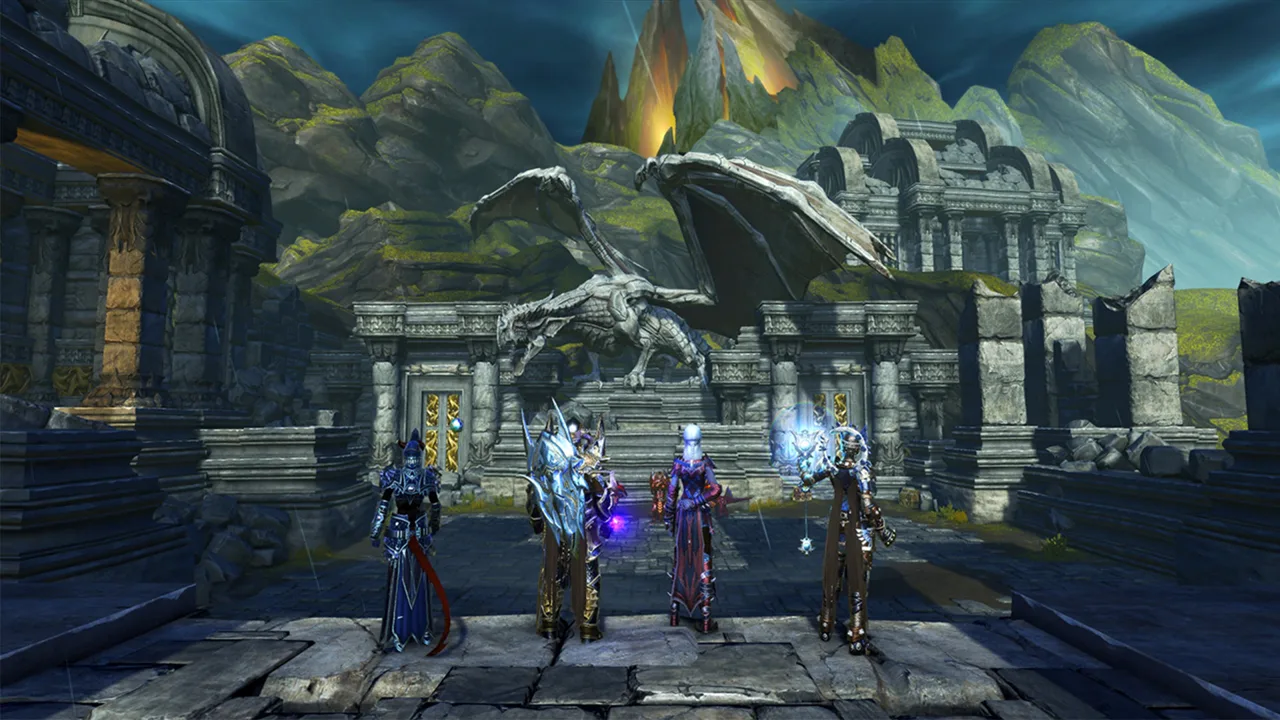
Neverwinter Jotunskar arrived with Module 33, Biting Cold, on May 19, 2026. It's a dungeon north of Icewind Dale with three bosses and a frostbite mechanic that never lets up. The frost giants here have fallen under a mysterious new authority, and you have to fight through them to find out who.
The dungeon comes in three difficulties:
- Normal: accessible to everyone.
- Advanced: a stepping stone for mid-level players looking to push their limits.
- Master: the hardest version, built around strategy and teamwork rather than raw stats.
You get the Jotunskar Dungeon Key from the Encroaching Frost zone mechanic in the Reghed Edge. The Campaign also offers a "stabilized" version of the key, and that one can be traded.
Official page: Neverwinter (playneverwinter.com)
Frostbite: The Mechanic Behind Every Fight
Frostbite is active in all three boss rooms. A snowflake icon stacks up on your debuff bar. Each stack adds more damage over time and slows you down. At 25 stacks you are perma-dead.
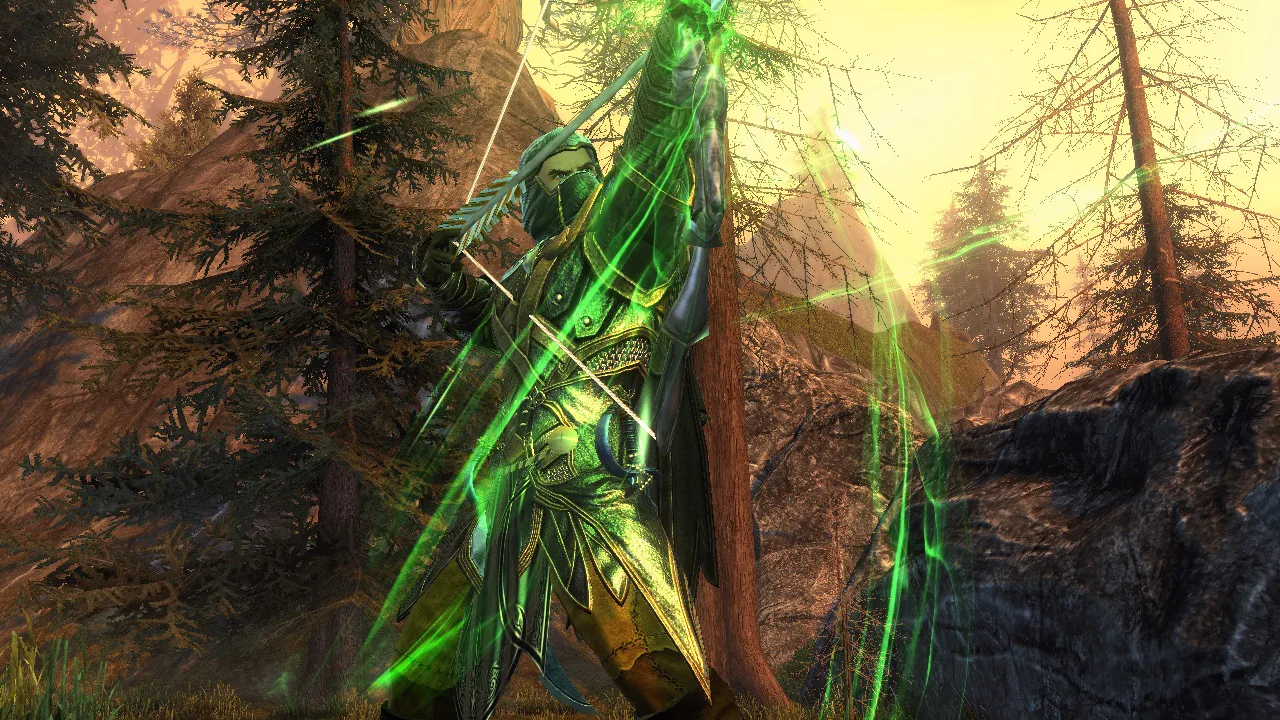 Image: Steam / Cryptic Studios
To clear stacks, stand inside the yellow circle that appears when you get close to a heat source. The first boss uses braziers. The second and third bosses use vents in the corners of the room. The circle lasts about 5 seconds. After that, the same source goes on a one-minute cooldown.
- Cleanse at 10–15 stacks, before the slow starts to hurt your dodges.
- Don't stand near a heat source by accident. Dodge-rolling melee players can trigger braziers by mistake and waste them.
- Call out cleanses in voice or chat so two players don't burn the same brazier.
- Healers should expect constant group-wide damage. The frostbite damage over time never stops.
Boss 1: The Remorhaz and Its Basilisks
The first boss is a hungry Remorhaz with two basilisk bodyguards, one of them Epli. On Advanced you face only one basilisk.
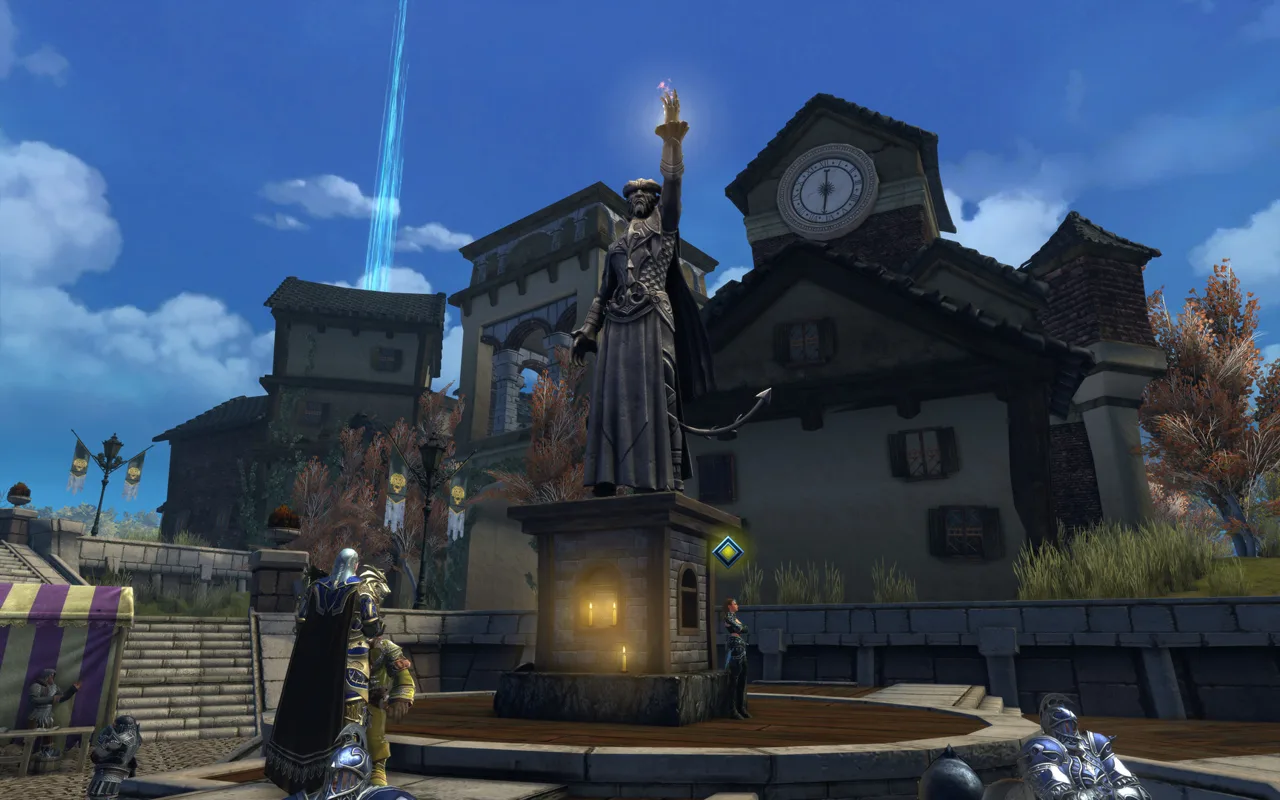 Image: Steam / Cryptic Studios
Kill order is the whole fight. If you kill any target early, it enrages. It then deals more damage and can't be targeted. Bring both basilisks down to about 25% health (one bar left). Bring the boss to about 20% (four bars left). Then finish the basilisks together and kill the boss last.
| Attack | Tell | Counter |
|---|---|---|
| Earthquake burrow | Boss dives underground | Move away as he leaves; dodge the red circles from falling icicles; stay clear of his landing spot |
| Basilisk gaze | Eye icon above a basilisk | Turn your character away, or take heavy damage and a stun |
| Basilisk spin | Spinning AoE | Melee players should hit, then step out between spins |
| Swallow | Red skull over the tank | Block before the grab. A failed block is a brutal heal check |
| Flame Spit | Large red circle that follows you | Drag it away from the group before the inner circle closes and the fireball lands |
Rotation: Wait for the tank to pick up both basilisks, then everyone uses artifacts on the boss. Hold your artifact call until the first gaze has gone off so it doesn't interrupt your rotation. When the boss burrows, hit the basilisks hard and avoid the icicles. When he resurfaces, the group cleanses at a brazier.
The tank should have a dedicated brazier and cleanse at about 15 stacks. A tank stuck in Swallow can't walk to a brazier. The rest of the group can wait until around 20 stacks.
Tank notes:
- Turn slowly while Flame Spit is on you. A sharp turn swings the AoE into your DPS.
- Don't stay pressed against a brazier. You can get stun-locked there or body-blocked away from it.
- If you're high on stacks and a Swallow is coming, move to a brazier. Your body still counts as being next to it while you're being chewed on, so you'll cleanse anyway.
- Sometimes you'll get hit by a tank buster and then back-to-back basilisk stuns. You can't avoid that, so don't let it tilt you.
Boss 2: Oddgeir, the First Frost Giant
This fight is simple as long as you take the sacrifices seriously. Braziers are replaced by vents, the small grates in the four corners of the room.
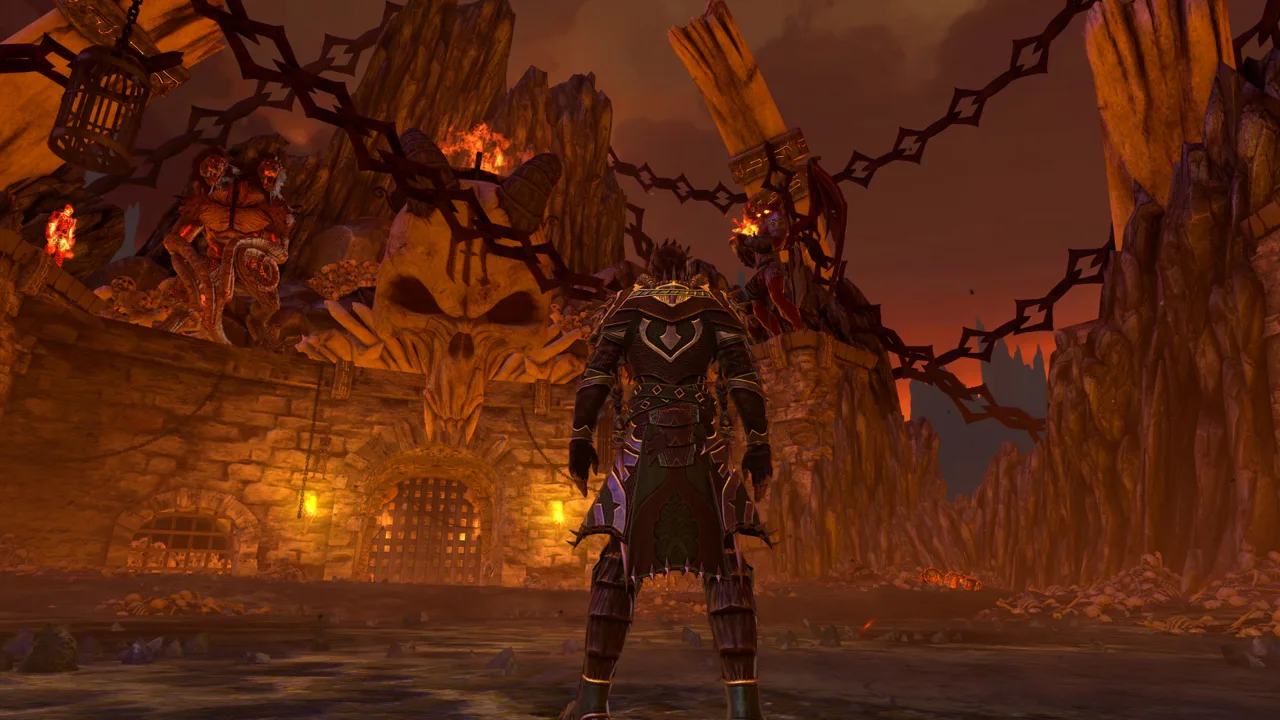 Image: Steam / Cryptic Studios
Sacrifices: When you hear a roar, two sacrifices spawn, one on each side of the room. If either one reaches Oddgeir, he gains a stack of Ascended. Soon after, he explodes and downs everyone. He also gains a permanent chilling aura that damages anyone near him. Ascended stacks again with every failed wave, so never let a sacrifice through.
| Attack | Tell | Counter |
|---|---|---|
| Cone of Cold | Three slashes that add more red cones each time | Tank sidesteps the first, stands still for the second (there's a small gap), sidesteps the third. Everyone else stands behind the boss, opposite the tank |
| Cleave | Red circle around the boss | Get out; it will almost certainly down you |
| Battle Cry | Larger red circle | Safe to stand in. It lowers your Strength and Critical Avoidance and raises his |
| Shield Bash | Shield pulled in, then an axe cleave | Block, or you're knocked prone and can't use powers |
| Tank buster | Purple skull over the tank | Block |
Rotation (directions assume your back is to the entrance door):
- Call artifacts, then everyone cleanses at the top-left vent.
- The tank holds Oddgeir on the stairs between the two vents. DPS kill the sacrifices.
- DPS return to the boss until the next wave.
- Everyone cleanses at the bottom-left vent, then artifacts the boss.
- Repeat until he dies. The two right-side vents stay unused as backups for anyone who misses a cleanse.
Tank notes: Cone of Cold aims at your position just before it fires. Keep the boss exactly opposite your team so none of the strikes reach them while they chase sacrifices. Between artifact windows, pull the boss back to the center so he's the same distance from both spawn points. If one side has weaker DPS, move him further from that side. Your normal shift block stops both the tank buster and the knockback, so you can still move toward a vent.
Some groups artifact the boss only on every other sacrifice wave. This keeps the party together and lets the tank share the same vent.
Boss 3: The Everlasting One
This is one of the most complex boss encounters in the dungeon, and it puts tanks through their paces. Frostbite is still active and you cleanse at the vents again. Fit cleanses between mechanics and aim for about 15 stacks.
Sphere of Mutation (soak): The boss throws a ball of rot at whoever has the highest threat. It shows as a red circle with arrows pointing inward. Everyone hit by it gets Mutation. Each mutated player has a few seconds to reach their own pillar of light and stay in it until the pillar fades. One pillar cleanses only one player. If anyone fails, the whole team goes down. If your group can't survive sharing the soak, have the tank take it alone. A Guardian Fighter can solo it with Determination. When you do share it, stand slightly off-center from each other. If you stack exactly, the pillars spawn on the same spot.
Infection: A poison cloud surrounds the tank. You'll see a red circle underneath and arrows pointing down over the tank's head. It gains one stack per second and explodes at nine. Pass it by walking over a teammate. Each player passes it to someone new, never back to the person who gave it to them. After three passes the explosion barely hurts, so let it go off.
Totems: Totems pile up throughout the fight. Blue totems give the boss stacking damage reduction. Red totems increase his damage. At five totems a blizzard starts damaging the party. On Master, a seventh totem wipes the group. On Advanced, the blizzard damage just gets worse. Totems are covered in ice until one of the boss's own attacks breaks it:
| Tank attack | Tell | How to use it |
|---|---|---|
| Upslash charge | Blue skull and a filling red circle | Stand next to totems so his charge hits them |
| Jump | Large red circle with a skull, which flickers and comes back | Drop it on totems, then run once it reappears or you're perma-killed. It also clears his ice swirls |
| Demolishing Charge | Red line with arrows pointing at the tank | Aim the line through totems. It also hits anyone beside or behind him |
Once the ice is gone, DPS destroy the exposed totems. Blue ones restore your damage, but prioritize clusters to stay away from the wipe count.
Phases at 66% and 33%: The boss locks and adds spawn along with ice chunks. The Remorhaz from the first fight is hiding under one random chunk, usually top left, top right or bottom middle. The tank holds the adds while DPS break chunks until they find it. Then the fight resumes.
Opening and tank tips:
- Let the tank build threat and wait for the first mechanic. If it's a charge, aim him at a wall and then call artifacts. If it's the soak, artifact right after it and handle the pillars as they appear.
- Keep him away from the barrier. He often glitches inside it during charges.
- With totems lined up along a wall, charge him at an angle. He slides along the wall and breaks several at once.
- Use small side-to-side steps during Jump so you know exactly where the circle locks in.
- When no totems need breaking, keep him out of the storms and close to your melee players.
- Finishing a mechanic matters more than keeping your artifact or mount power on cooldown.
Loot and Itemization
Jotunskar is where you farm Biting Cold's ring, shirt and pant upgrades. The June patches made farming much easier:
| Item | Where it comes from |
|---|---|
| Legendary armor, weapons, rings, shirts and pants | Advanced Jotunskar (armor has a rare chance to drop as Bind on Equip) |
| Mythic armor, weapons, companion gear, shirts, pants and rings | Master Jotunskar |
| Celestial Shirts & Pants | Master Jotunskar and the Dungeon Merchant |
| Cosmic Dust | Master bosses, at least 2 guaranteed per kill |
| Celestial Rings | Refine Mythic Rings with 450 Cosmic Dust (down from 600) |
| Coldstone Amulet | Advanced: 4 each from the first two bosses, 6 from the third |
| Coldstone Brooch | Master third boss: 4 per kill (up from 2) |
| Frosthug the Unwise, Little Jarl Blizzardson | Vanity pets, now sold by the Dungeon Merchant |
As of June 25, Dungeon Merchant prices are cut in half, including Astral Diamonds, Reghed Tokens and Coldstone Amulets or Brooches. Mythic and Celestial Rings are now Bind to Account on pickup. Legendary Rings are Bind to Account on pickup and Bind to Character on equip.
That same patch also added a gate before the Everlasting One's drop-off. Defeat the guards nearby to open it.
FAQ
Where do I get a Jotunskar key?
Earn it through the Encroaching Frost storms in the Reghed Edge, or get the tradable stabilized key from the Biting Cold campaign.
Why did a boss suddenly hit much harder in the first fight?
You probably killed a basilisk or the boss too early. The survivors enrage and become untargetable. Bring everything low first, then finish the basilisks together and kill the boss last.
Continue with
 Neverwinter Devourer's Pit Guide: Mechanics, Gear and TipsMaster the Neverwinter Devourer's Pit trial: handle Grathmok's vents, soak checks and tank busters, plus item level targets and the Artifact Armor rewards.
More in Dungeons
Neverwinter Dragon Hunts Guide: Unlocks, Modifiers & Gear
Neverwinter dragon hunts still drop strong gear. Learn how to unlock ancient dragons, use tier 3 modifiers, beat the weekly ridge cap, and pick your gear.
Neverwinter Dungeons Guide: Queues, Difficulties and Loot
Neverwinter dungeons explained: random queues, item level gates, Jotunskar loot and mechanics, and the route to Advanced and Master runs in Module 34.
Continue exploring
Join the community
Official channels for news, updates and player help: